The HTML editor included in Gold-Vision Connect offers WYSIWYG design of HTML content. It is comprehensive in it's functionality whilst relatively simple to use. Text, images and visual content can be inserted, drag-and-droped, copy-and-pasted, formatted and styled all using the in-built toolbar controls. Most common Windows keyboard shortcuts also work (ctrl+c, ctrl+v, ctrl+x, ctrl+z etc).
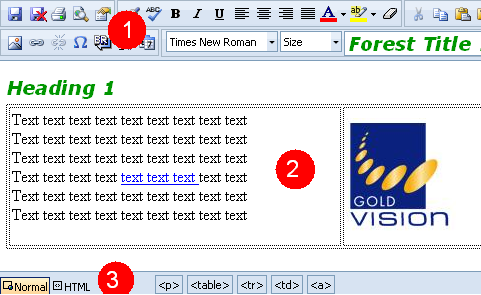
The editor is split into three main areas.
Text can be entered directly into the editor. Simply position the cursor where you would like to enter some text and start typing.
Text can also be copied and pasted from other text sources such as Microsoft Word, Notepad or similar. When text is copied from a source like Word, the editor attempts to maintain all style (bold, color etc) already applied to the text when you copied it.
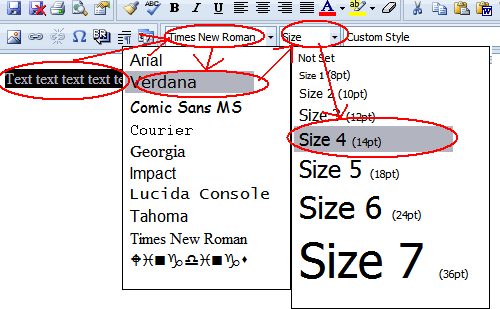
Fonts and font size can be modified by using the appropriate dropdrops from the tool. Simply position the cursor into the text you would like to change or highlight some text and select a new font or size. In the exampel below, we change some text to Verdana Size 4.
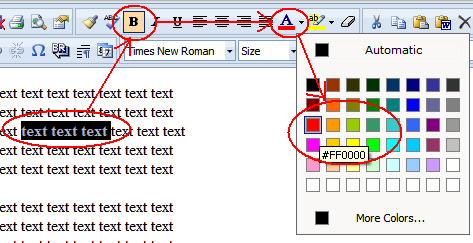
Format and style changes can be made using the toolbar controls at the top of the screen. The typical way to do this is to move the cursor to the text location or highlight some text and then use one of the toolbar controls to modify the style. In the example below, we look at making some text bold and red.
 )
to make the text bold
)
to make the text bold ) and select Red
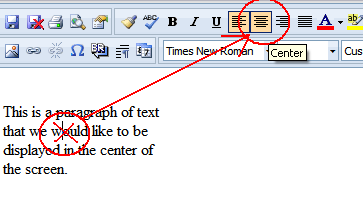
Text can be justified left, right, center or justified. This is performed by selecting a paragraph of text and choosing one of the justification options. In the example below we look at making a paragraph of text aligned to the center.
 )
)
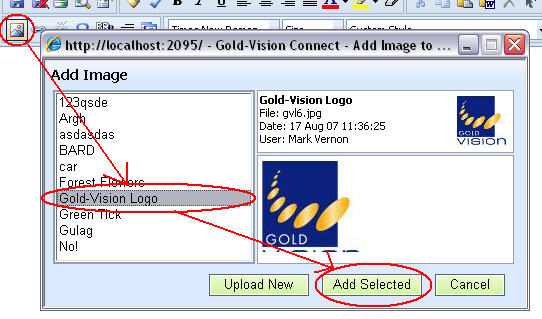
Images can be opload to Gold-Vision Connect via the Image Library and inserted using the HTML editor. To insert an image, please follow the instructions below.
 ) from the toolbar.
Once the image has been inserted it can be moved by using drag-and-drop or resized by

It is important to save your changes before navigating away from the editor page.
To do this click the Save button ( )
from the toolbar.
)
from the toolbar.